WIP 21 Jan 2011 – Body

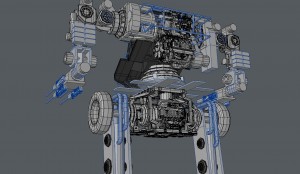
Rear area; working on the connections
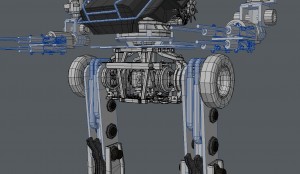
Front area; changed leg design

Re-worked the legs a bit; didn’t like the Case backhoe crane design: just didn’t aesthetically fit in with the rest of the stuff. Now I’m trying to bring all the parts together, resizing stuff, extending portions and creating connective elements. Lots of stuff to be done at this point. Most of the stuff is just block-out and now I’m trying to see how helpful this block-out method is going to be. I just want to bring it to a point where I’ve put every possible blocked-out element and then see just how effective it is. Will I end up re-blocking nevertheless? Would it be better to block a local area first, then detail that area? Or block out the whole model and then detail the whole in another pass?

I think I’m just tired right now. Asking all these stupid questions to myself.

Picked up on Freddie Aguilar. But also listening to the John M. Keane’s CSI soundtrack.
What I was up to…

As I said I was pretty busy a few days doing my reel. The video below is DBX; I created this model in 2009, but did this scene on and off for the whole of 2010 while I was teaching in Lifeway.

DBX Forest from Lernwel Ang on Vimeo.

For the reel I added new a model turnaround of a Resiklo robot.

Resiklo Robot from Lernwel Ang on Vimeo.

And the reel in its entirety.

Lernie Ang Reel 2011 HD from Lernwel Ang on Vimeo.

WIP 12 Jan 2011 – Arm and Gun

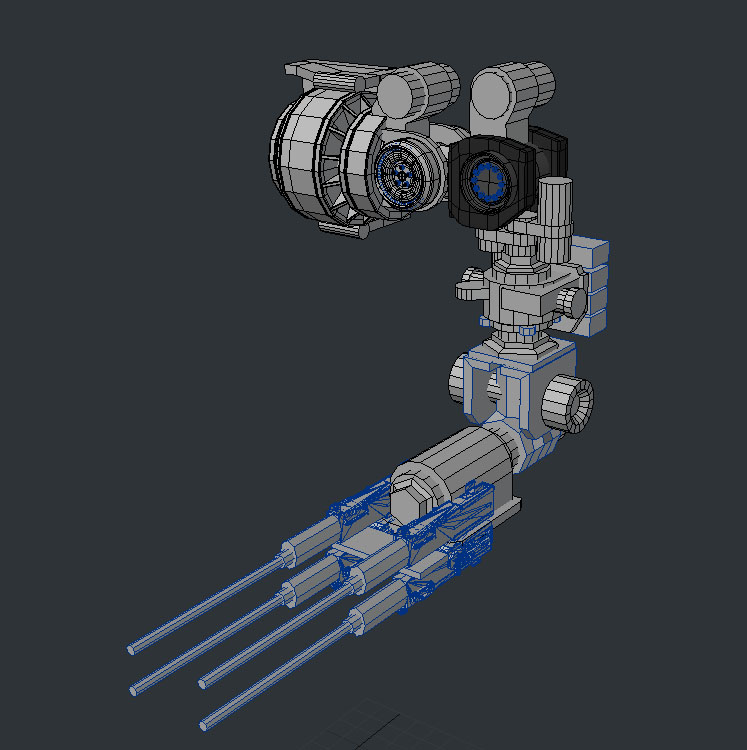
Last few days have been busy, but not busy with my WIPs. I was trying to get a new cut of my reel out to DNEG has I heard they had some imminent openings. I wanted to send my 2010 reel, but my wife wisely – she’s always wise – to include at least DBX. And so I did. But I also thought of including some of the WIPs here. However, I don’t like putting WIPs into my reel, and none of these models are in a stage that I can show them to someone and not blush. So they stay here until they get up to spec. Here’s my latest progress on the Dante, though: further blocking out of the arms and the M2 machine gun placements.

WIP 012 Jan 2011 – Arm and Gun

Ammo boxes are out behind the upper arm. Belts will go running from the guns to the boxes.

WIP 06 Jan 2011 – Browning M2

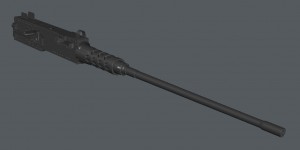
Shaded of M2 'beta' model (a.ka. finished pending change of perspective)
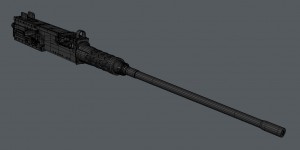
Wire of M2 'beta' model
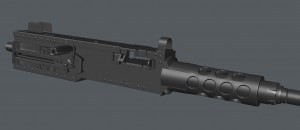
Shaded of M2 close-up
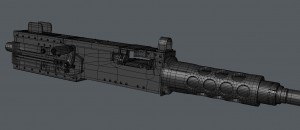
Wire of M2 close-up

I think I ended up with too much detail based on my initial idea. I think the problem is that, unlike production, I don’t have a modelling end goal; there is no particular shot I’m modelling for so it’s tempting to load the model with details. When I was modelling I was maintaining edge sharpness as if the model was going to be viewed close-up. I was justifying all this effort with by thinking that I could present the M2 as its own piece. It is a pity not to aim for a high-quality model in any part of the model, but I am sacrificing everything else for it. It’s very tempting though, simply because when I look at my photographic references I can see so much detail in it; you show me details and I’ll be fighting hard not to incorporate it. I’m a bit obsessive, I’ve learned.

Switched through various music, but Sound of Music (especially Edelweiss) was my company yesterday. This morning I switched to the bootleg CSI soundtrack by John M. Keene – not the official soundtrack: that was okay but when I go looking for soundtracks, I mean soundtracks, not a compilation of various artists.

WIP 04 Jan 2011 – Browning M2

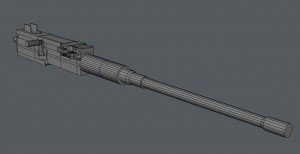
Browning M2 - block out

The ubiquitous Browning M2 is used in many countries, and the Philippines is one of them. The M2 is mounted on both vehicles and helicopters.

For Dante I’ve decided that I’m getting rid of the rotary saw and convert the robot into a gun platform, putting in a slew of M2’s (dual?) on the arms and back and make it look a bit crazy; looking forward to finding how the ammunition belts are going to feed.  Also, hoping to have time to get an M60 (another old one) GPMG sticking out of the cockpit.

The picture above is my block-out stage. Like the other detailed parts of the robot I don’t plan to detail it to the centimetre because it’s too impractical (resource-wise).

WIP 04 Jan 2011 – Arm

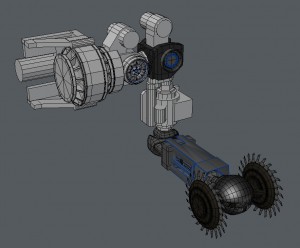
I figured I should just redesign the arm as well. Pulled off some pictures of drilling rigs and designed the shoulder based off that. Right now they’re just the usual blocked-out geometry, but it should be easy enough to detail.

Speaking of detail, I spent a day and a half coding a script that would help me with moving edges along other edges consistently. LightWave Modeler doesn’t have a tool like Maya’s Insert Edge Loop where you can insert an edge at an absolute distance from the nearest edge. This gives you a consistent hardness of edge. However, Maya does not have a way to make this metrically consistent as well; you’d still have to eyeball the edge’s hardness. What I did was a script that records a set distance (defined by selecting two verts; the script measures the distance between those two verts), and then selecting an edge, then running either the A-side script, or the B-side script, or the nearest-side script. Running the side script will bring the selected edge towards a particular side (defined by the order of the selection) in absolute distance from that side edge. (When I get a chance to create a plugins page I’ll upload it.)

(Will also be posting another model I’m improving. It’s a Russian T62 battle tank that I did years ago that I want to reassess. I did it in a fashion that is totally unacceptable for me. But I’m planning on using the geometry (which was done reasonably accurately) and just cleaning up the mesh.)